How to Turn Updated PLR into a Complete Digital Asset
Once you’ve modernised your PLR using AI and the Hub Idea Maker, you’re halfway there. The content is clean, the tone is consistent, and the examples are fresh. But now it’s time to package it into something people actually want — something they can read, use, download, or share.
This post walks you through that process step by step.
Start with the format that fits your audience
Not every PLR product needs to be an ebook. Some work better as checklists, mini-courses, planners, or even swipe files. The key is to match the format to the way your audience prefers to learn.
If your readers like quick wins, turn your content into a one-page cheat sheet.
If they want depth, build a short ebook or guide.
If they’re action-oriented, create a workbook or planner.
The updated content gives you flexibility. You’re not stuck with the original format.
Use your subheadings to define the PLR structure
When you modernised the PLR, you probably added subheadings to break up the flow. Those subheadings are now your asset structure.
Each one can become:
- a chapter in an ebook
- a slide in a presentation
- a module in a mini-course
- a section in a planner
You don’t need to reinvent anything. Just follow the flow you already created.
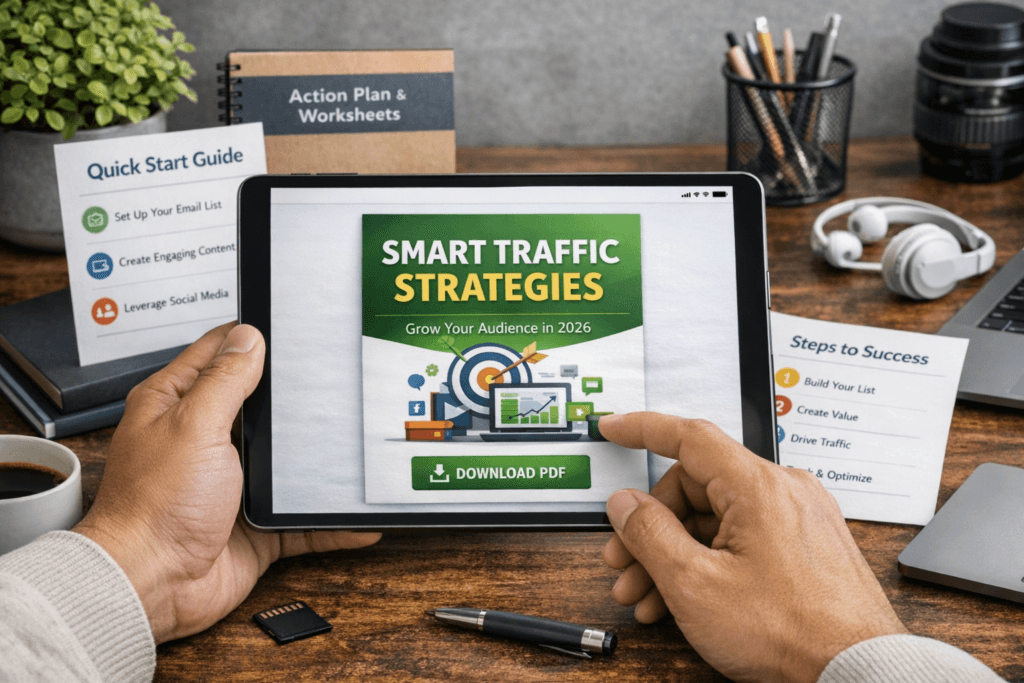
Add a visual layer to lift the value
This is where things start to feel premium. A single diagram, flowchart, or checklist can make your asset feel 10x more useful.
You can use AI to generate:
- a “Steps to Success” infographic
- a “Before and After” comparison
- a “Process Overview” diagram
- a “Quick Start Checklist”
These visuals don’t just look good — they help people understand and apply what you’re teaching.
Create a clean cover and intro page
Even if it’s just a PDF, a clean cover makes a difference. It sets the tone and gives your asset a sense of professionalism.
You don’t need fancy design tools. Just a title, a subtitle, and maybe a simple image or icon. This can all be done using our free Hub Idea Maker, which create spot on JSON prompts. Long gone is the need to use Photoshop to create covers.
Then add a short intro page that explains what the asset is, who it’s for, and what they’ll get out of it.
That’s enough to make it feel complete.
Add a call to action at the end
Every digital asset should end with a next step. It could be:
- a link to your site
- an invitation to join your list
- a prompt to check out another resource
- a simple “Try this now” action step
This turns your asset from passive content into an active part of your ecosystem.
Keep it simple and friction-free
You don’t need a funnel. You don’t need a fancy delivery system. You of course can use them if that’s the way you work.
Just export your asset as a clean PDF, host it on your site, and link to it from your post, your profile, or your email.
If it’s valuable, people will use it.
If it’s useful, they’ll come back for more.
What you’ve built using old PLR
By this point, you’ve taken a dusty old PLR product and turned it into:
- a modernised, AI-enhanced version
- a structured, audience-friendly asset
- a clean, visualised resource
- a downloadable tool people can actually use
And you did it without hiring a designer, buying new software, or spending weeks rewriting everything.
That’s the power of combining smart AI with clear structure — and it’s exactly what The Hub is here to help you do.


